Using Jupyter Notebook on Kay (via Jupyter Hub)
Jupyter Notebooks can be used on Kay using our system-wide installation of Jupyter Hub. While the installation is system-wide and available to all users, each user must start their own instance of Jupyter Hub. It is a beta installation and may change in future based on the user feedback. If you encounter any issues, or have any feedback please send it to us via Helpdesk
Guidance
Nodes
Our Jupyter Hub installation has been configured to run Notebooks on either login nodes or compute nodes (in any queue, based on availability).
On the login nodes, you can run Notebooks to download data/software from the internet and for light pre or post processing. Since login nodes are shared among all users, please don't run compute intensive jobs on it. If your job takes too much resources it may be killed to keep the login node responsive.
On the compute nodes, you can run Notebooks for compute intensive tasks. These nodes do not have internet access. To learn about different compute node types and queue limits refer here
Core Hours
Running JupyterHub on the compute node consumes project core hours similar to any other Slurm job submitted to compute node.
Compute nodes are allocated exclusively, so the project resource consumption is calculated assuming that all 40 cores are being used even though you might using only 1 core.
Some Queues (e.g. GpuQ) have higher consumtion rate than ProdQ.
You can use our core-hour calculator to estimate your core-hour usage.
Packages
Similar to other system conda environments, you cannot install any package in the jupyterhub conda environment.
You should create your own conda environments to install packages. Refer here for more details.
To make your conda environment visible in JupyterHub, install ipykernel package in it. You may have to restart JupyterHub if it is already running.
Project Directory
To view the project directory (i.e work directory) in Jupyter Notebooks, create a soft link for the work directory in the home directory.
ln -s /ichec/work/myprojectid/ $HOME/work
Tutorial
Start JupyterHub
Connect to Kay via SSH and run the following commands on the login node to start JupyterHub.
# run on login node

# load the environment module
module load conda/2
# load conda environment
source activate jupyterhub
# start jupyterhub
jupyterhub_kay
It will create some files in the current directory, so it is recommended to start this command from an empty directory for easier cleanup.
Once JupterHub starts, it will print some instructions to create and use a SSH tunnel. For example, you may see some output similar to the following.
JupyterHub starting (will take 1-2min). Usage instructions will be printed soon.

Usage Instructions:
1. Create a ssh tunnel from your local computer using the command
ssh -N -L 8080:localhost:18996 asharma@login2.kay.ichec.ie
2. Open web browser at http://localhost:8080
The output will be different each time. Do not close this terminal.
Open another terminal and run the SSH command from the printed instructions on your local computer. This will create a SSH tunnel from your local computer to Kay. The SSH command will not show any output and will stay in the foreground. If you are using MobaXterm, your SSH keys might be saved in a different location which you might need to specify in the SSH tunnel command - e.g. by appending -i "$USERPROFILE\.ssh\id_ed25519" in the SSH tunnel command.
Open your web browser and open the URL from the previous terminal output.
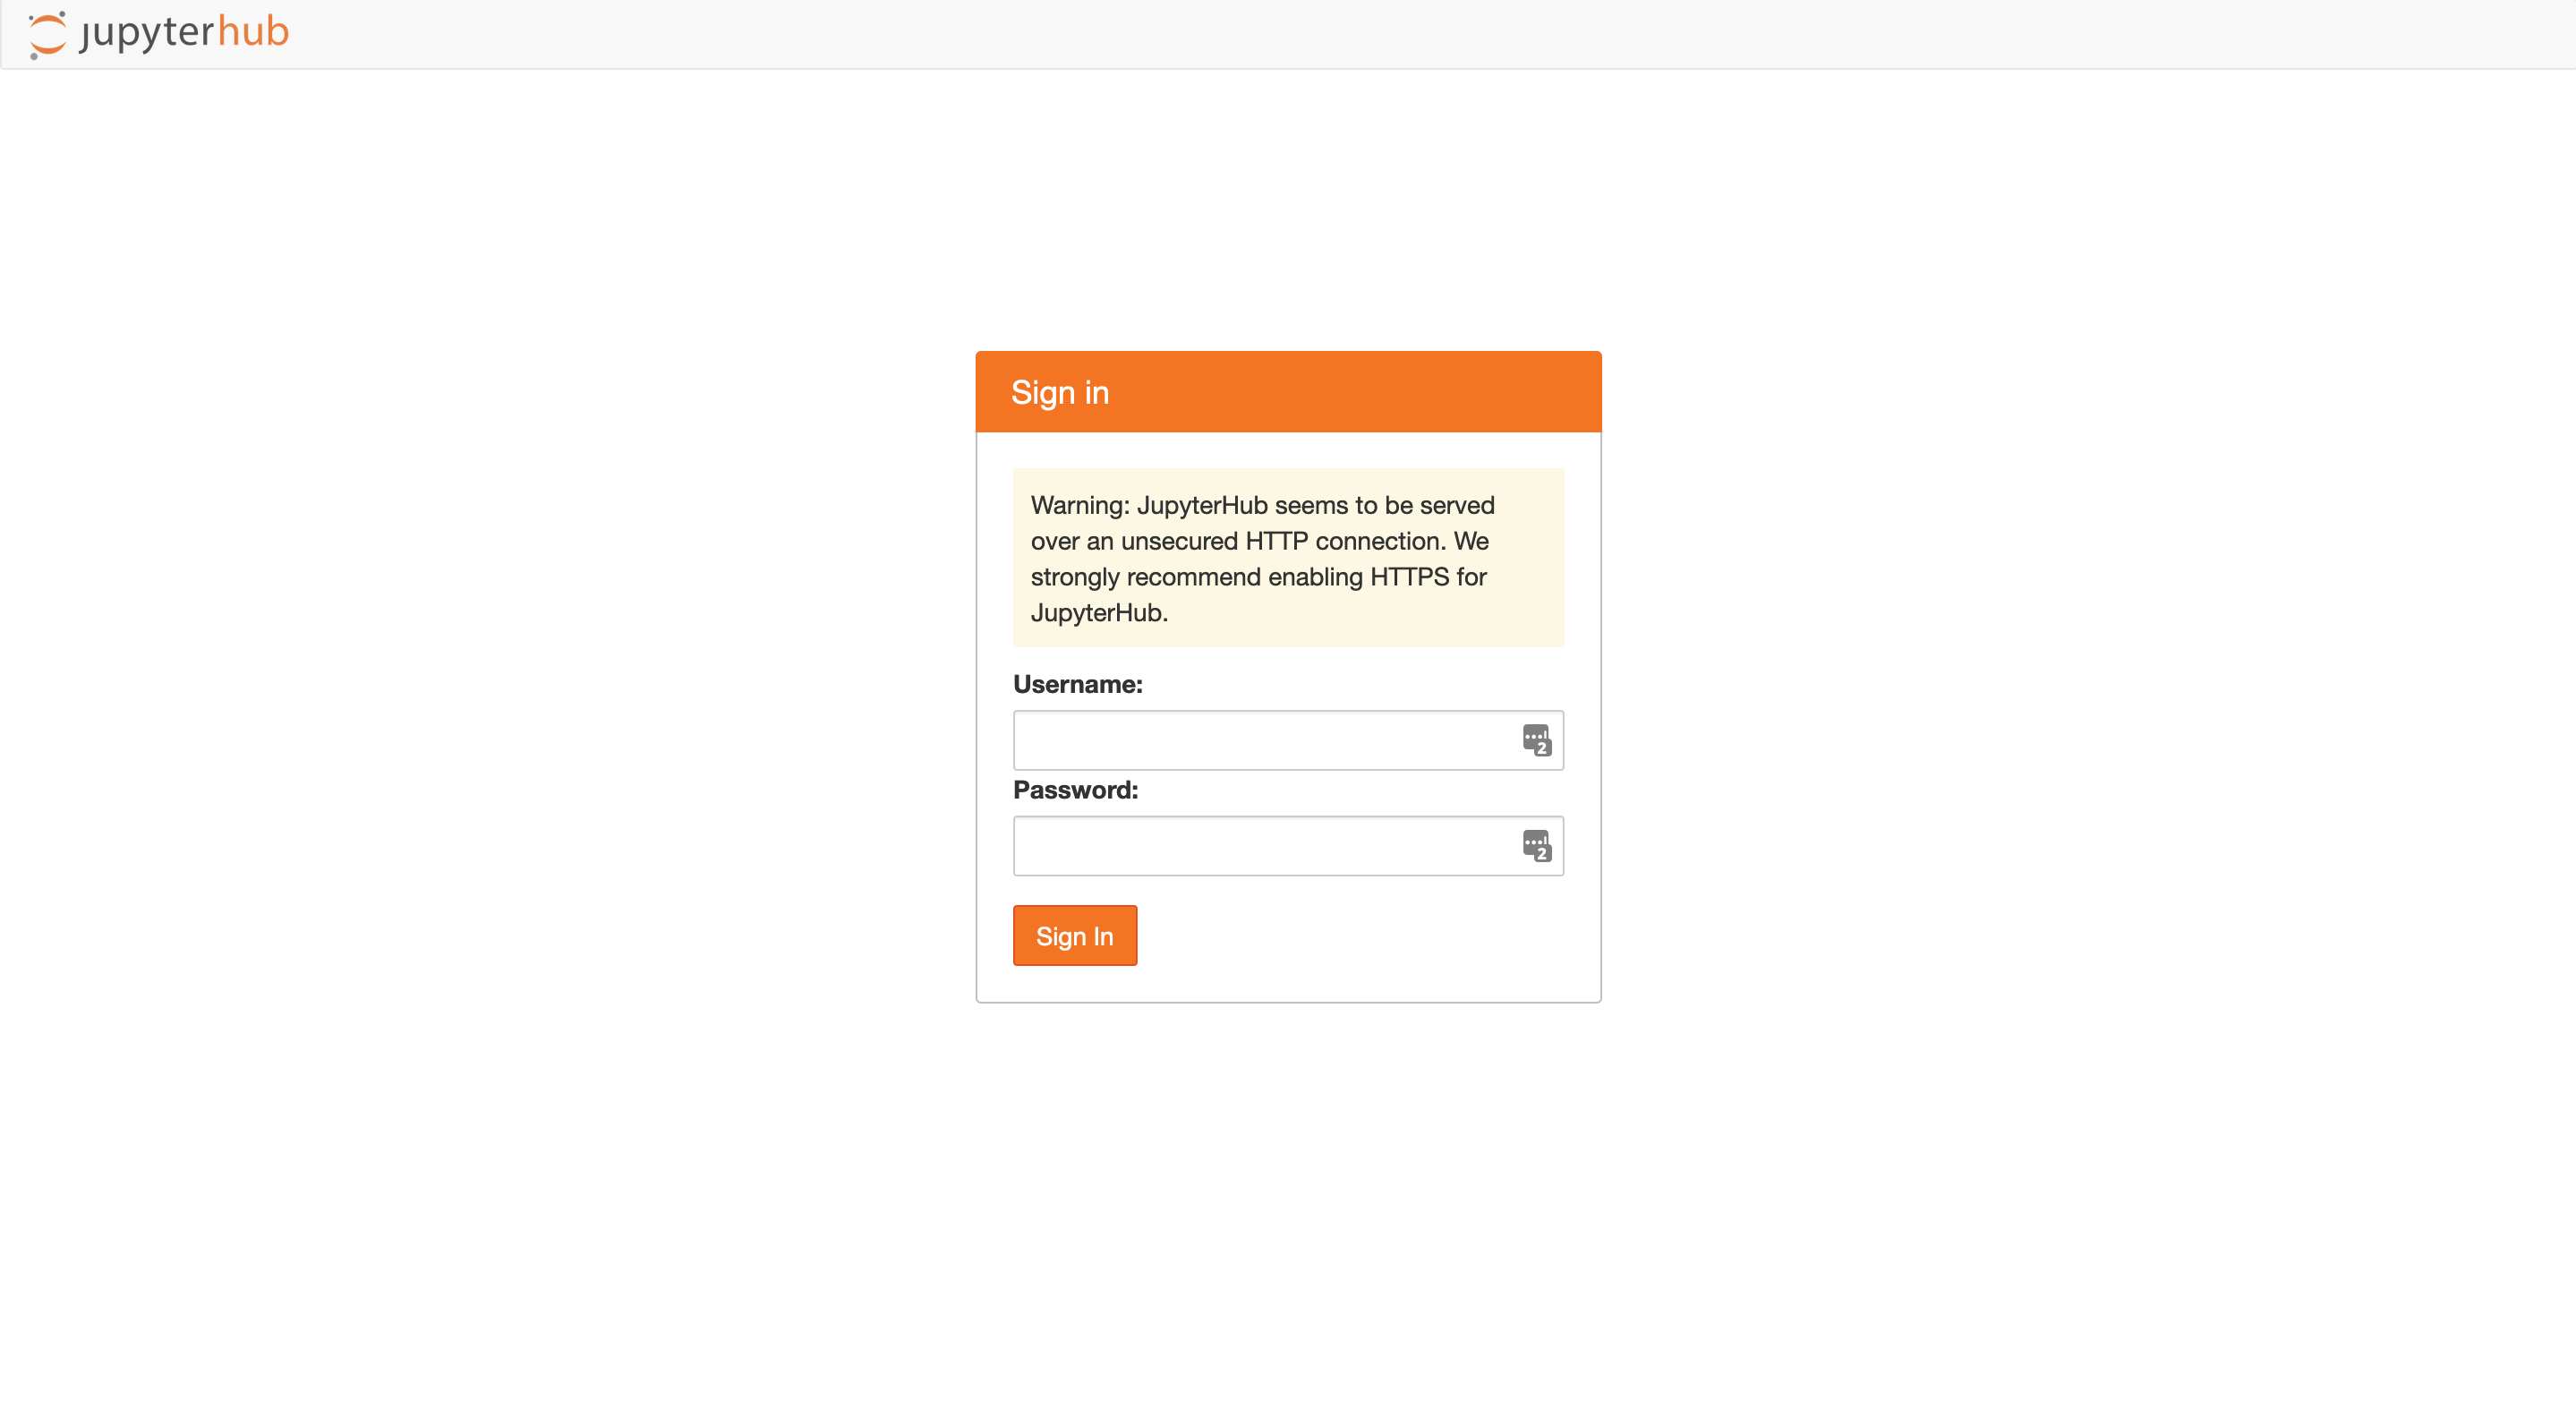
In the web browser, login using your ICHEC username and password.
Note: Connection between your computer and Kay is secured via SSH so HTTPS is not needed.
Create Notebook Server
You can manage your Jupyter Servers from the home page.
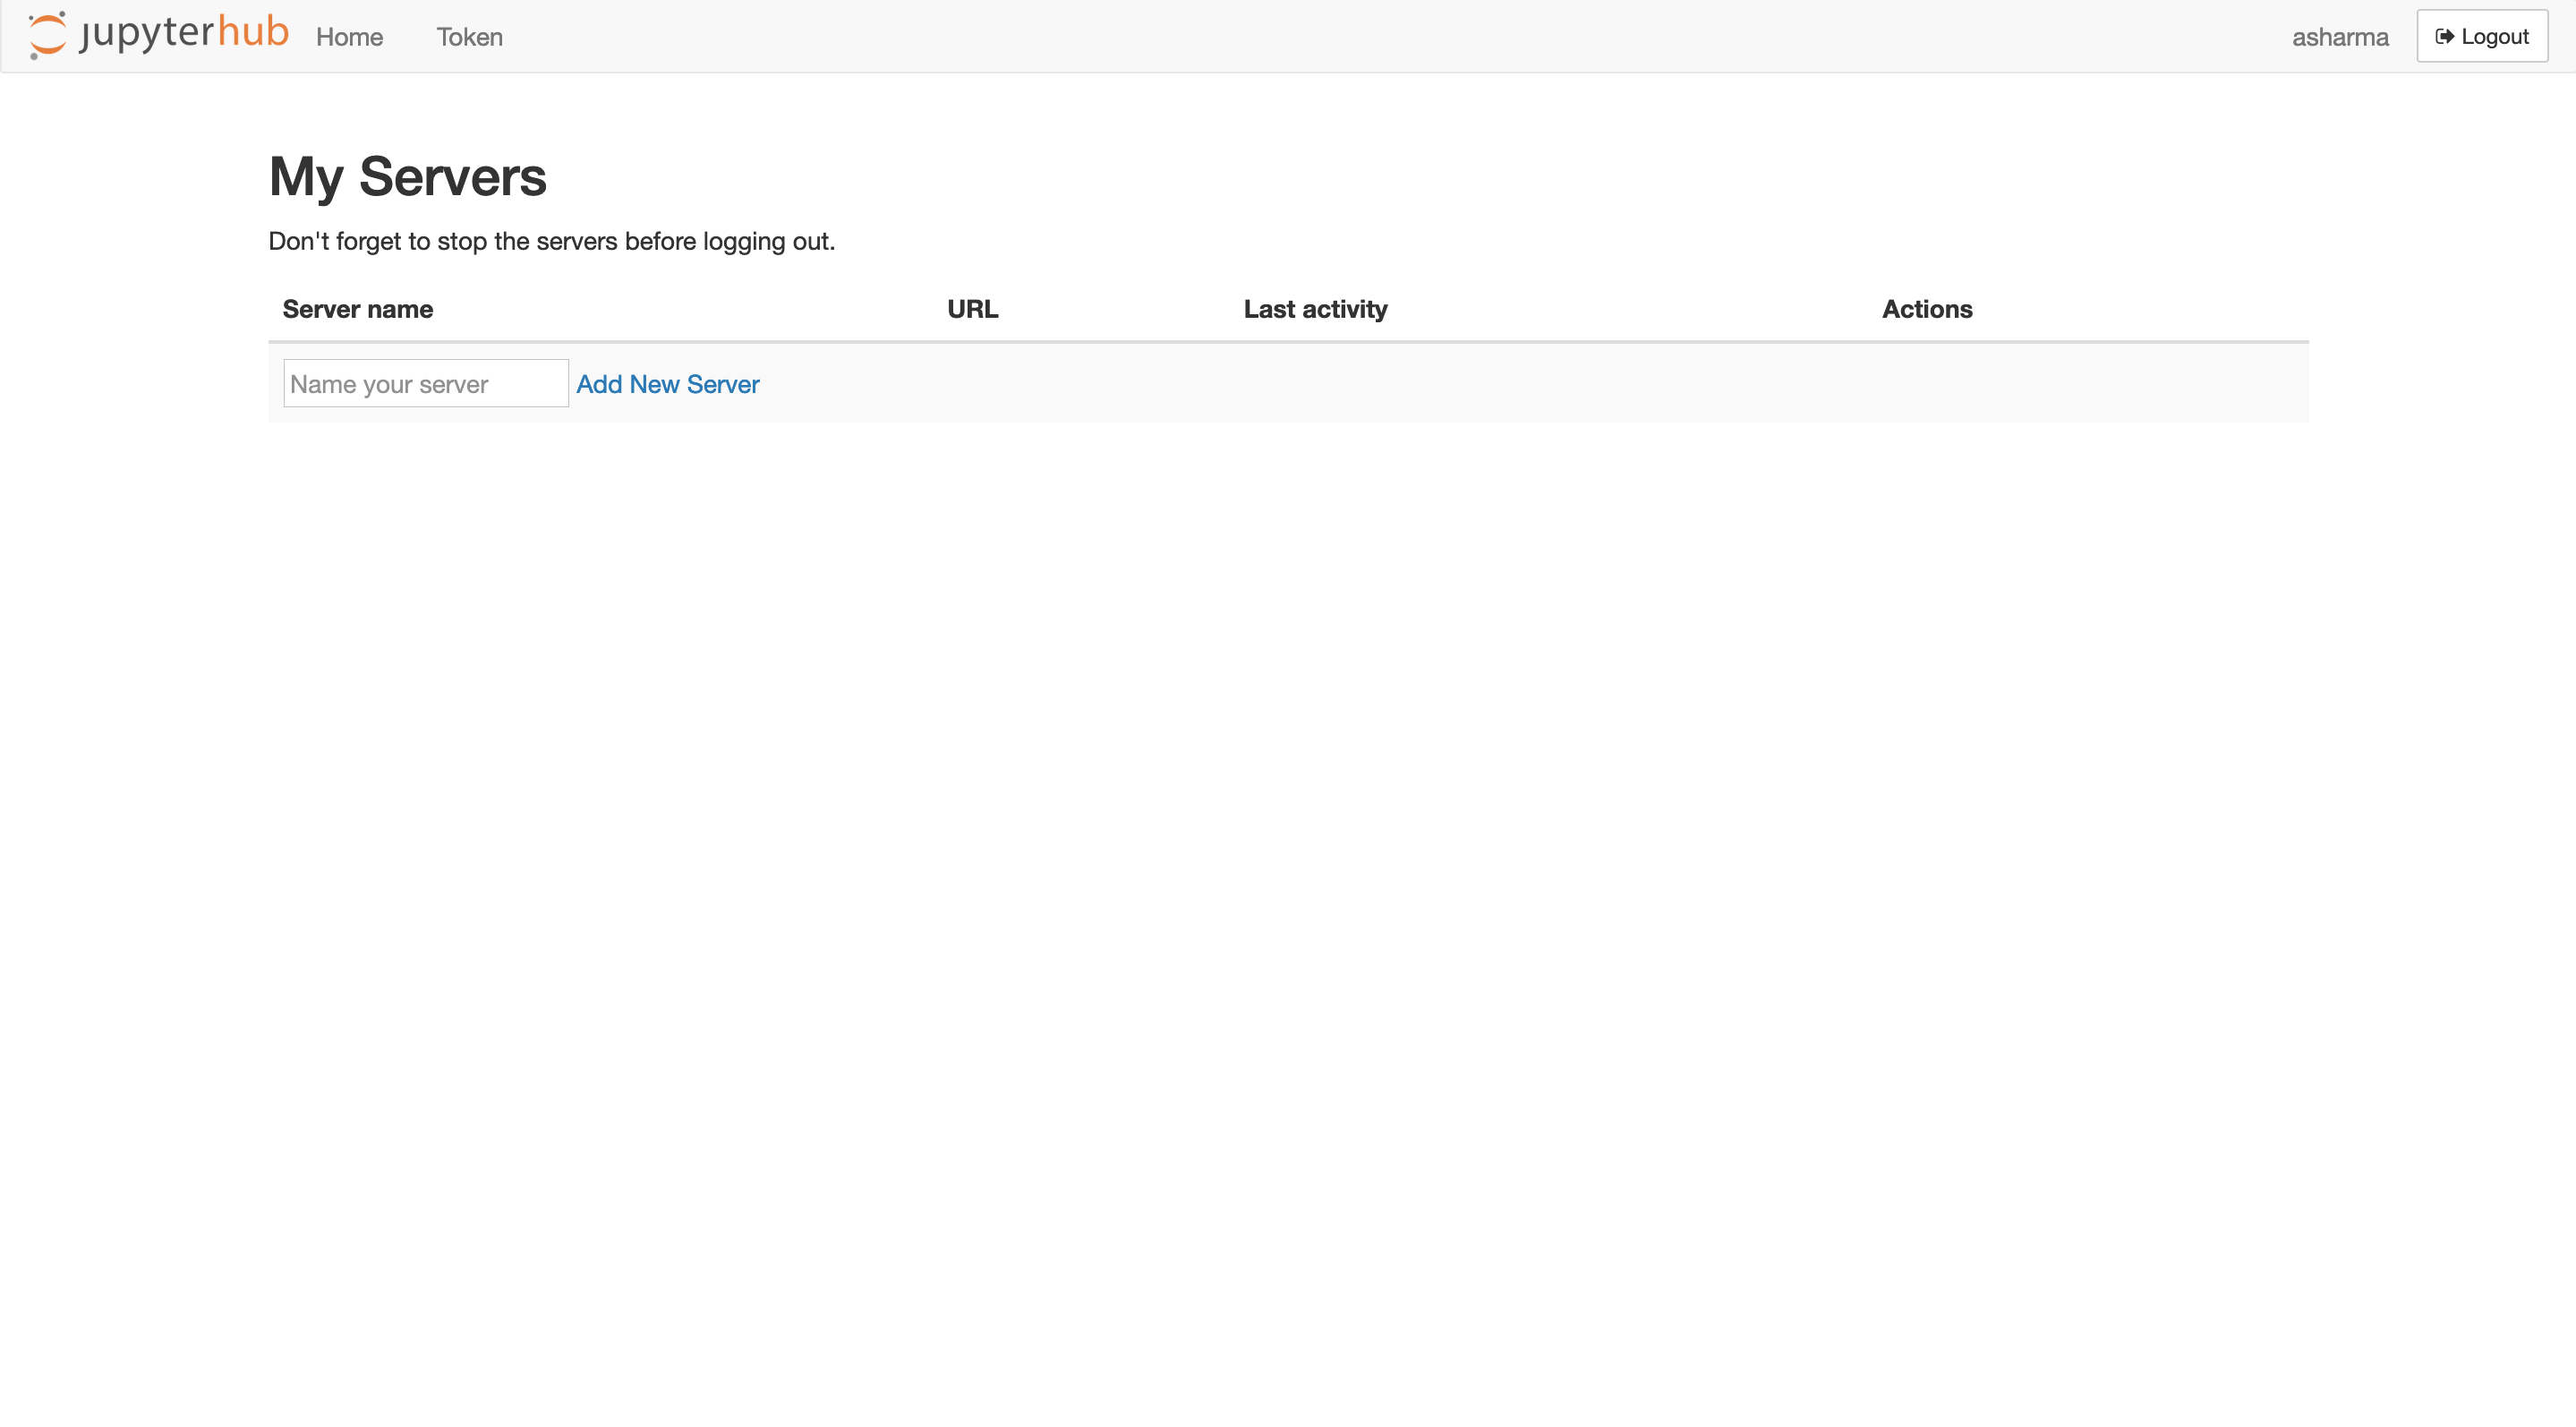
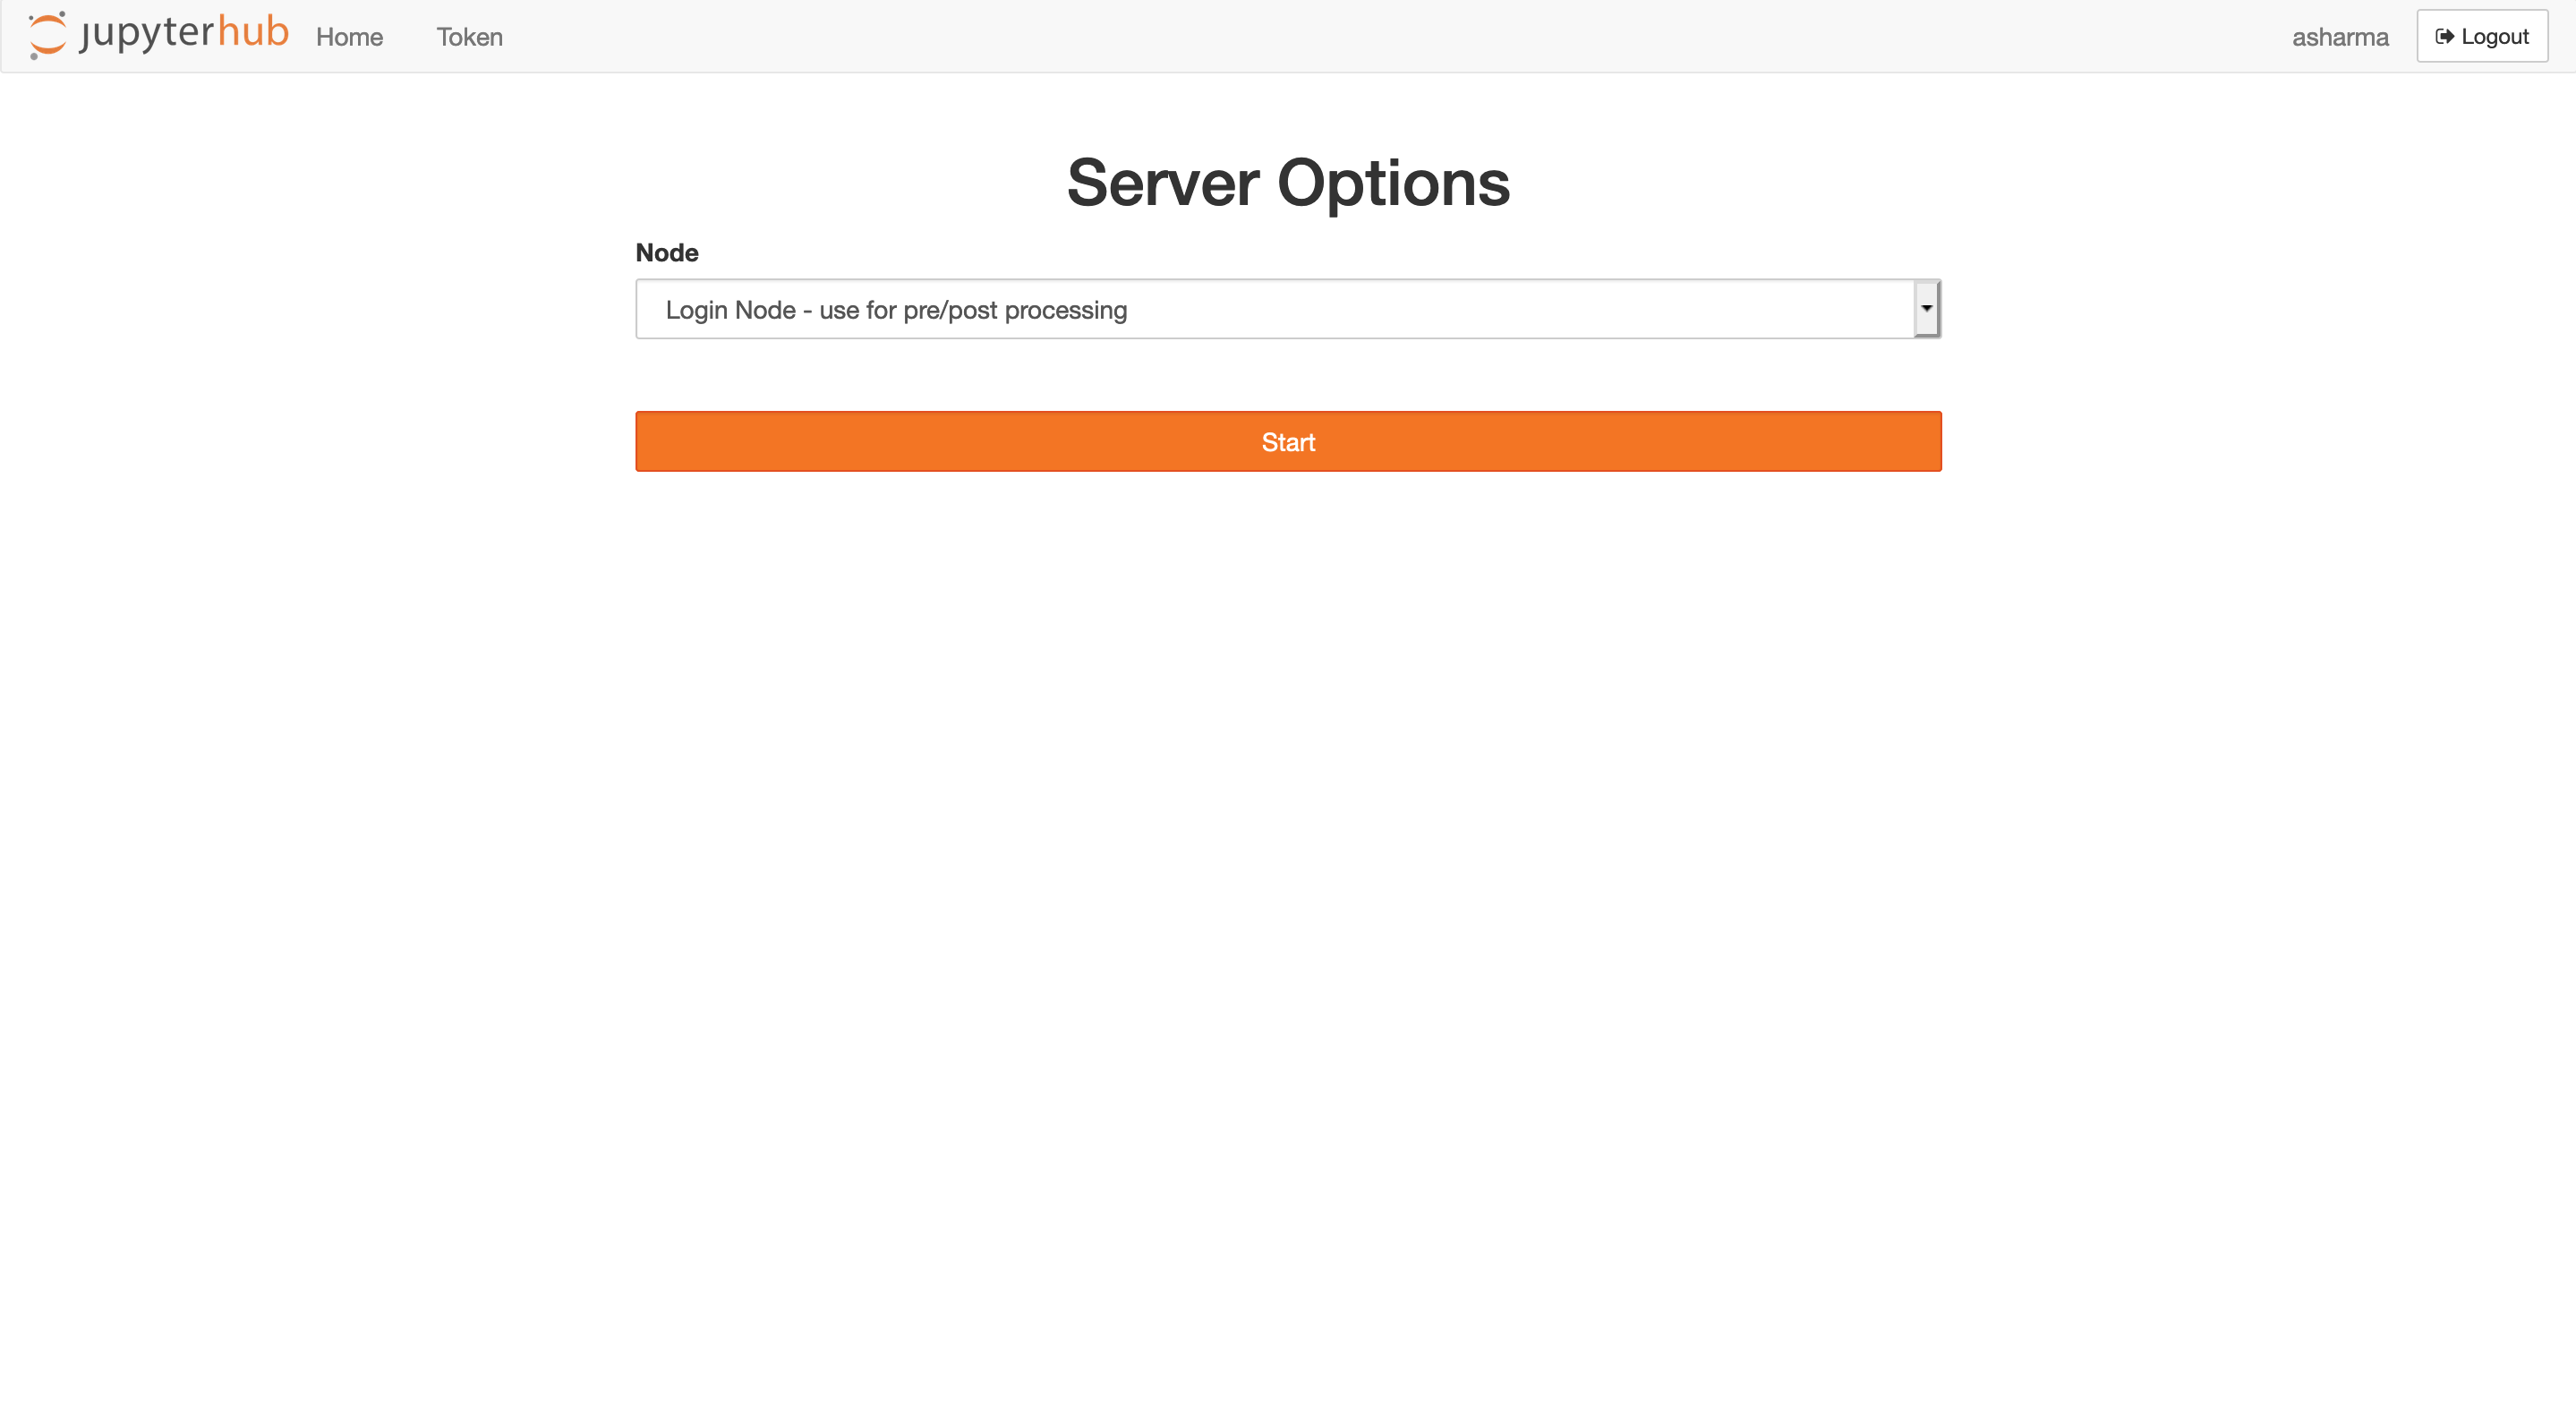
To create a new server, specify a name and click Add New Server. You will be redirected to an options page, where you can specify if you want to run the server on the login node or on the compute node.
Login Node
For light pre/post processing or to download data from internet, select Login Node and click Start
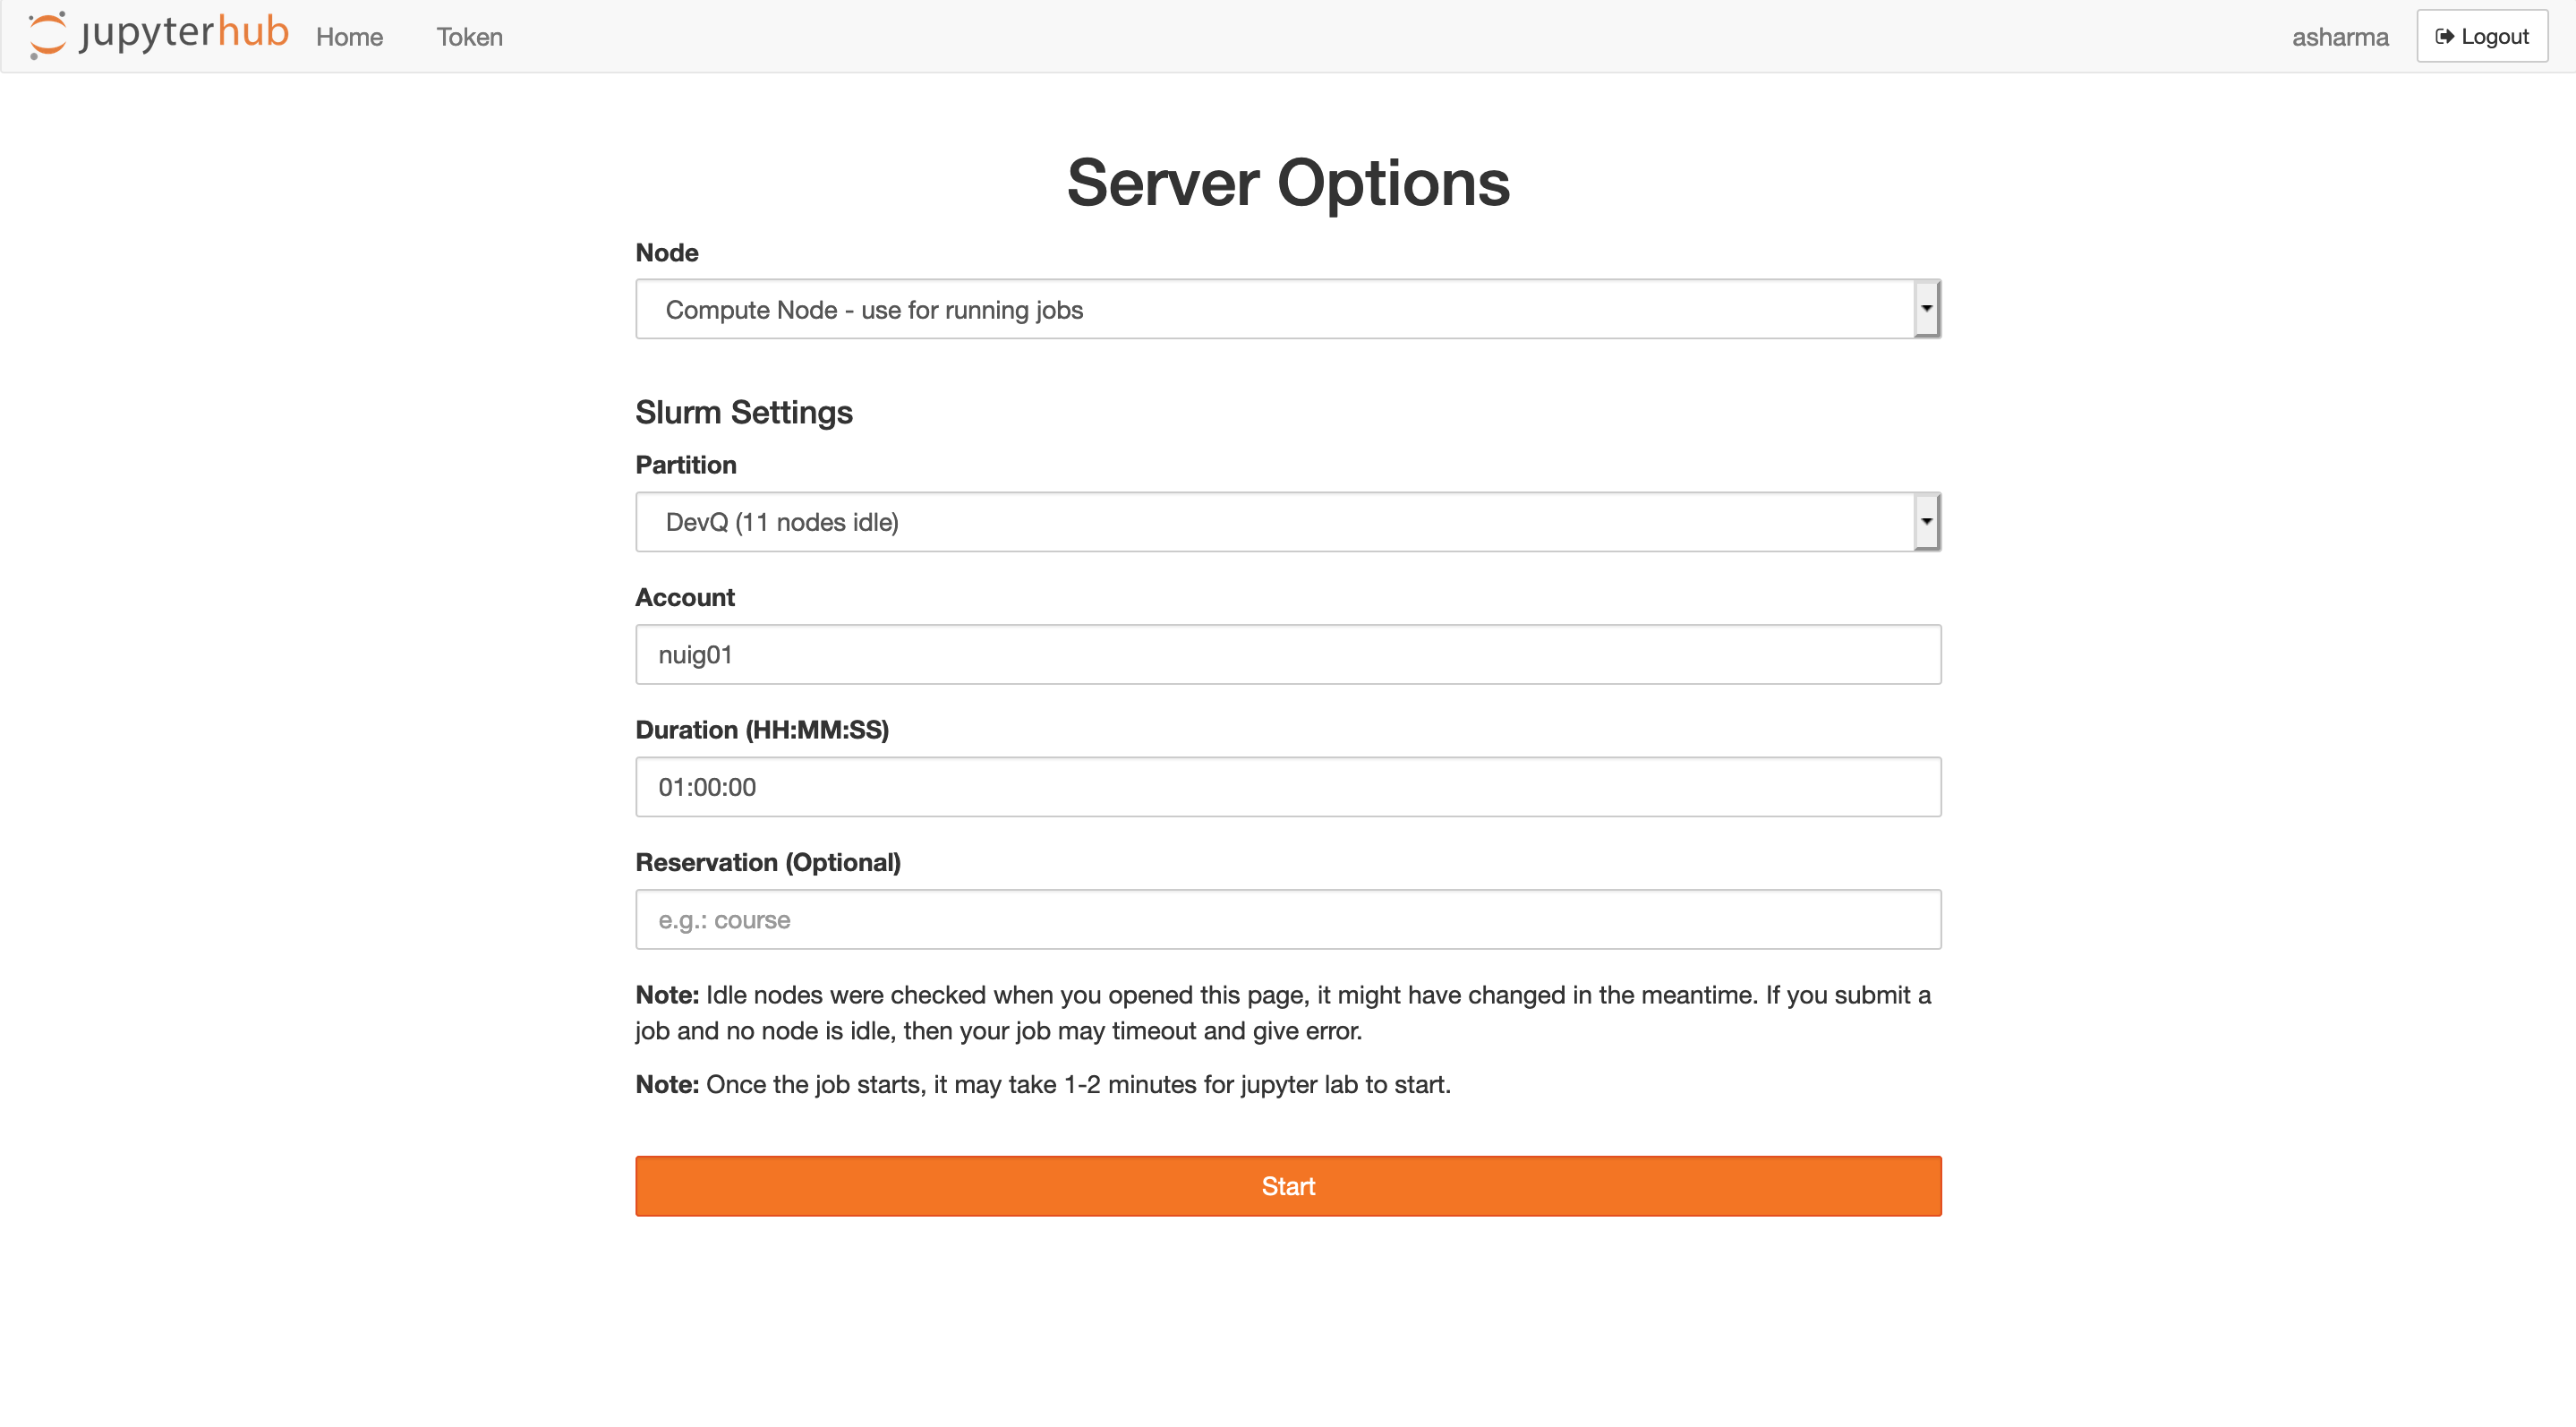
Compute Node
For compute intensive work, select Compute Node and specify Slurm job options, Queue, Account, Duration etc., and click Start
Note: Closing the terminals may terminate your Jupyter Hub instance but may not stop your Jupyter Notebook Server. So, shutdown your Jupter Notebook Server from Jupyter Hub before closing the terminals.
JupyterLab Interface
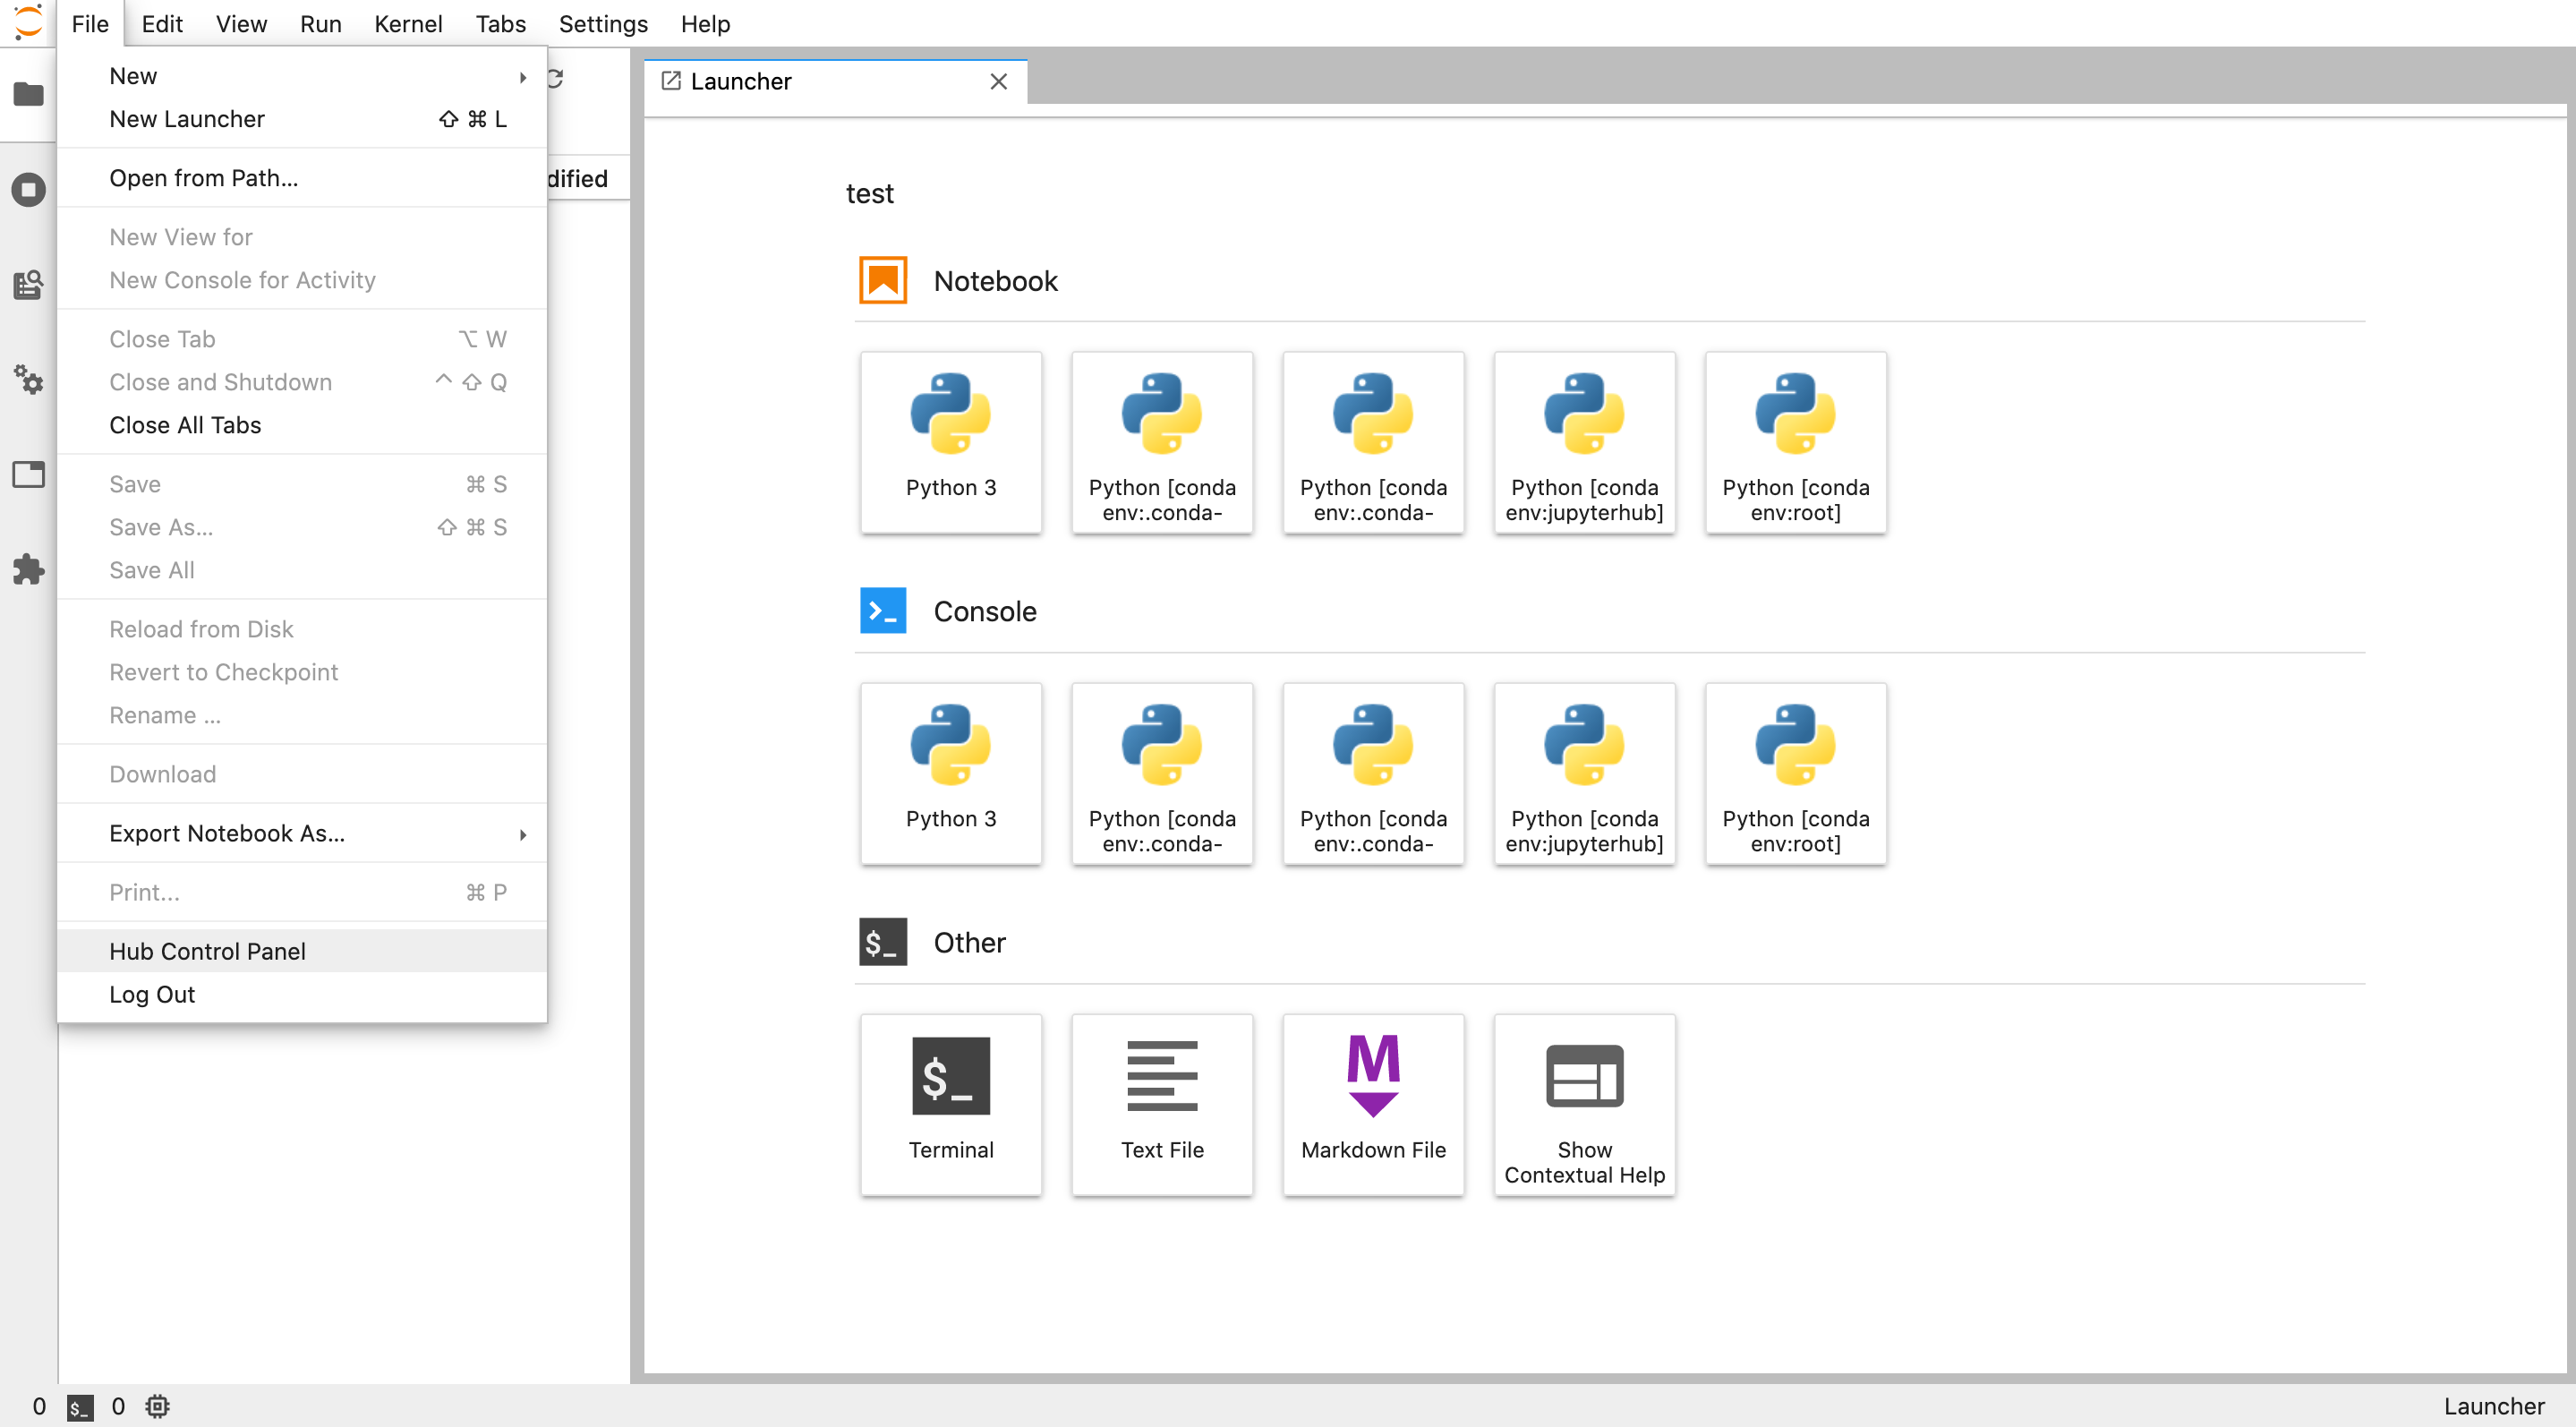
Upon successful server spawn, you will see JupyterLab interface.

You can either create notebooks with your own conda environment or you can change the kernel in the notebook to select your own conda environment. Refer to JupyterLab Documentation for more details.
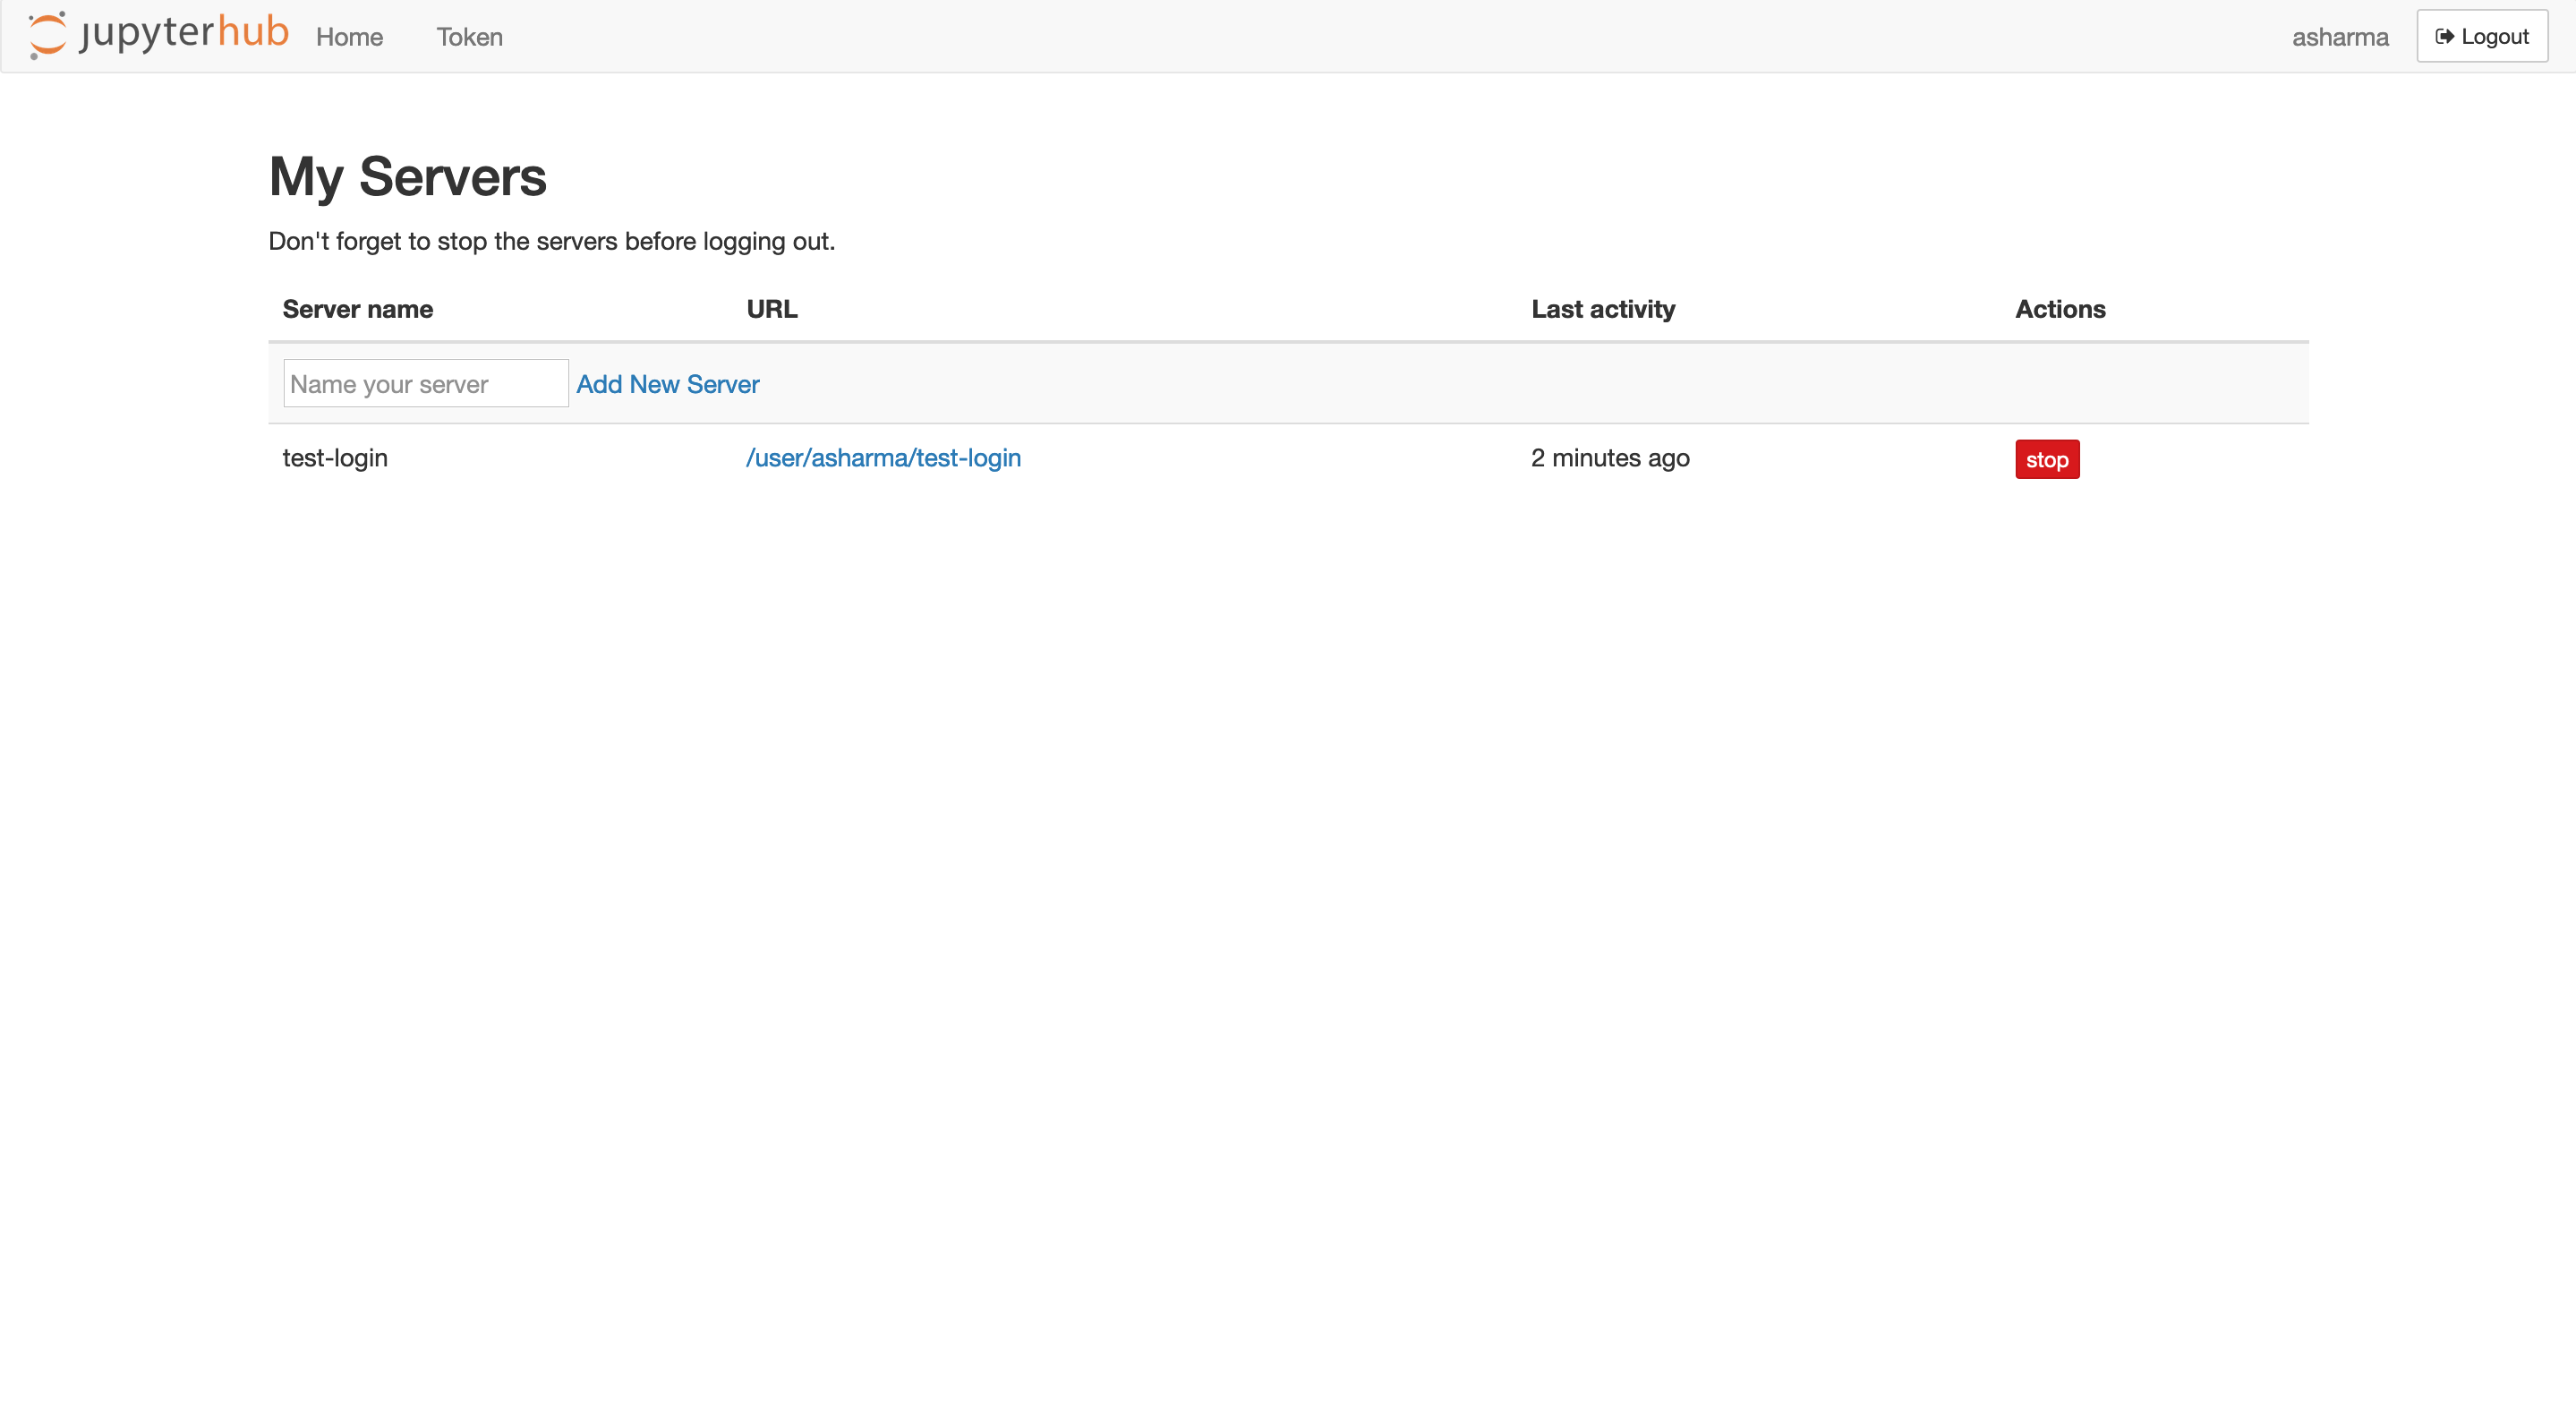
To stop the server, visit JupyterHub home page from JupyterLab.
Click stop button to stop the server.